
ISPconfig Web Hosting Platform (Discontinued)
ISPConfig Control Panel Website Administratione
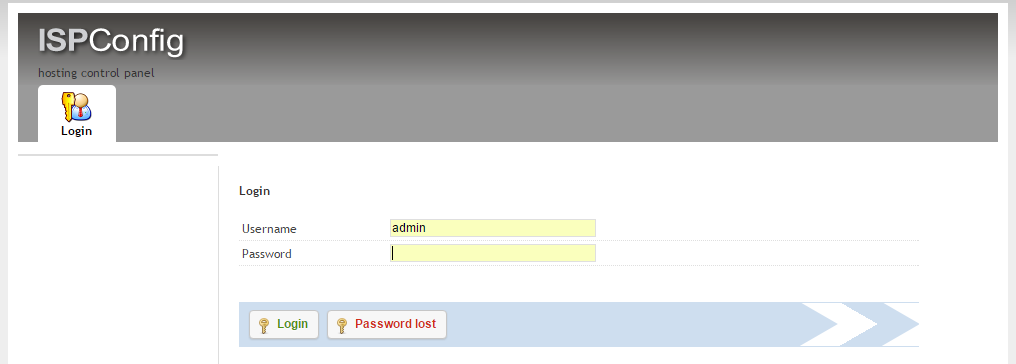
This is where you can set up your web hosting, add websites, upload files and administer your databases. Your login details may be found below:
- Control Panel URL
- https://server1.logicalview.co.uk:8888
- Username
- Network Login, eg WSxxxxxx
- Password
- Network password
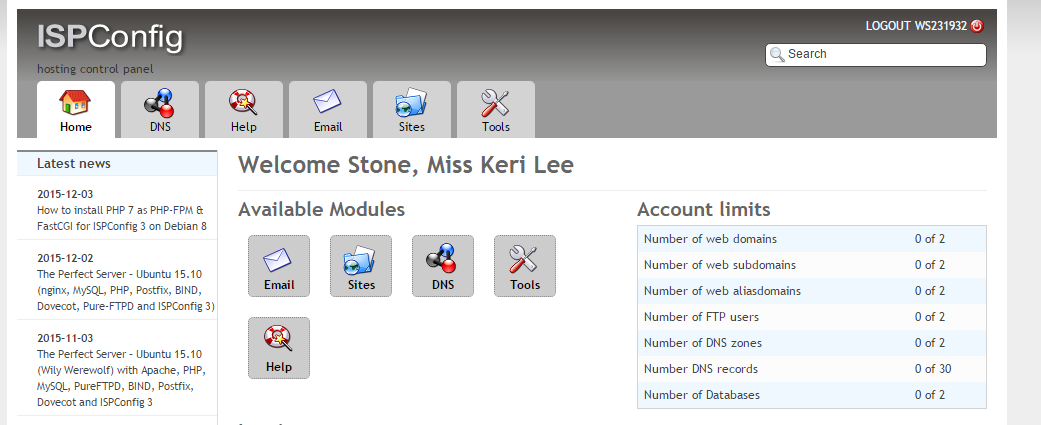
Once you have logged in you will be greeted with your own account administration:
Setting up a Website
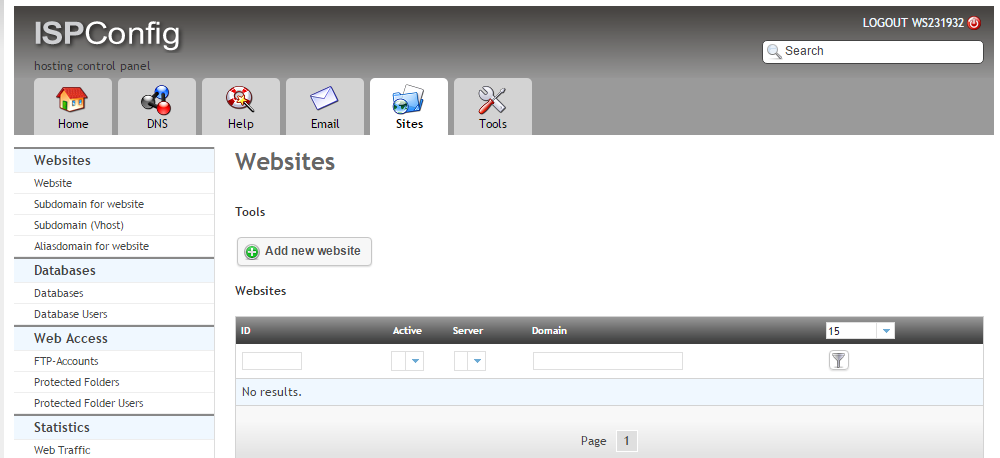
Before you can start uploading your files you must set up your website. Once you have logged in to your ISPconfig Control Panel, select Sites, and then Add new website as indicated below
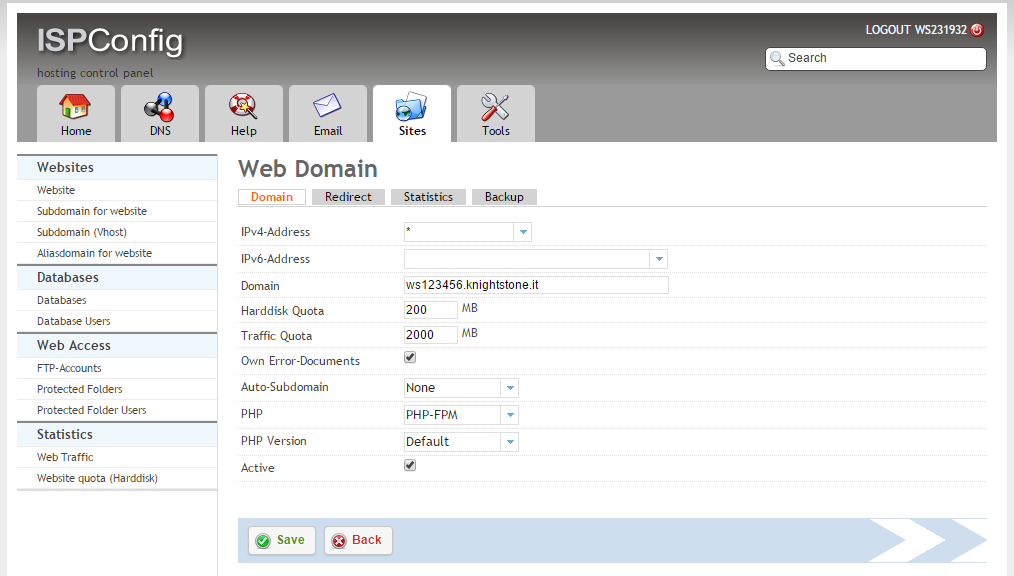
You will now need to set up some important information, including your websites URL (address), website allowance and monthly bandwidth
- IPv4-Address
- IP V4 Address – Leave blank unless instructed otherwise.
- IPv6-Address
- IP v6 Address – Leave blank unless instructed otherwise.
- Domain
- The web address for your site. This will be provided by your tutor, usually
ws123456.kinghtstone.it - Harddisk Quota
- This is the amount of storage space allocated to this site. Please set a sensible amount eg
200mb. - Traffic Quota
- This is the
monthlyamount of web traffic used by visitors to your site. Please set a sensible amount eg2000MB. - Own Error Documents
- This allows you to create custom error documents, eg
404 - Page not found. This is optional. - Auto Subdomain
- This allows you access your site using
www.ws123456.knightstone.it. It is optional, but we recommended leaving it off as it only makes your URL longer. - PHP
- This allows you to enable and disable PHP support for your site. If you are going to be using PHP please enable it here.
- PHP Version
- Allows you to select older PHP versions for legacy applications.
- Active
- Sets the site as active.
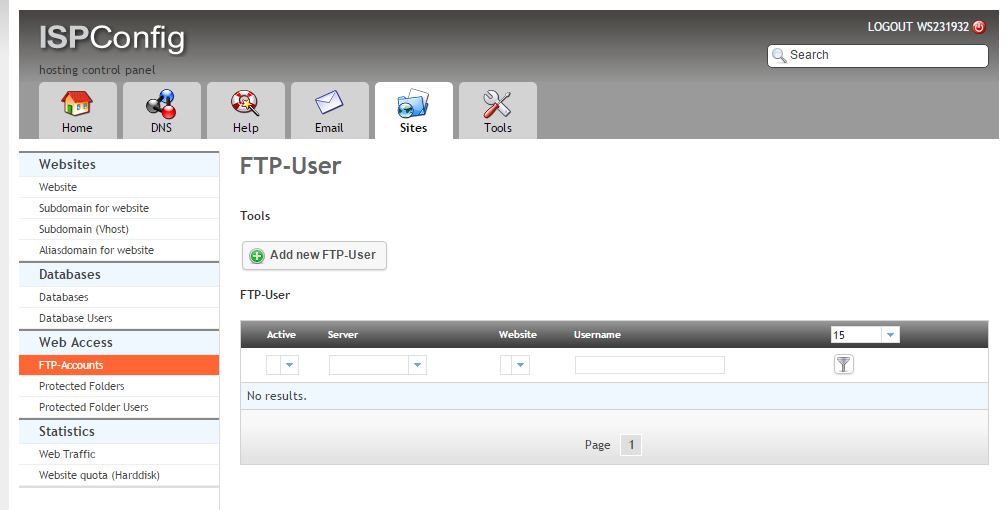
Setting up FTP
This is where you can set up the FTP File Transfer Protocol account so you can start uploading files to your new website.
From the ISPConfig Control Panel go to Sites and then FTP-Accounts in the left hand submenu and select Add new FTP-User as indicated.
- Website
- Select the website you want to create an ftp account for.
- Username
- Enter the username for your ftp account. This should be set as
ftp. SEE NOTE BELOW - Password
- Enter the Password for your ftp account. We recommend settings this as your network password so you won’t forget it.
- Harddisk-quota
- This is the amount of storage space dedicated to your FTP account. It can be left as
-1(unlimited). - Active
- Enables this account.
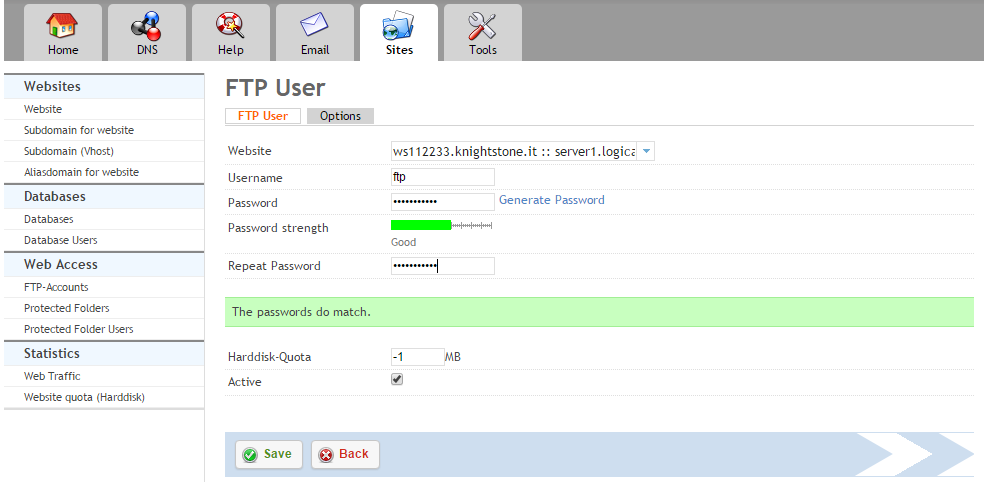
If you set your FTP username to
ftp your actual username will be ws123456ftp.Uploading Files
You can upload your files using two methods:
Using an FTP Client Recommended
Using a FTP Client like the Filezilla Client or the native Windows FTP is the quickest and easiest way to add and remove multiple files on your site.
- FTP Server
- ftp://knightstone.it
- Username
- You set this in ISPconfig. eg
ws123456ftp - Password
- As set in ISPconfig.
To access ftp in Windows, open a folder and enter ftp://knightstone.it into the address bar. Wait a few moments and you will be prompted for your login details.
Don’t forget: All of your website files must be uploaded into the web folder!
Using Web-FTP Alternative.
The Web-FTP client allows you to upload and modify your websites files from a Web page. It doesn’t require any specific software to use, but isn’t as fast or reliable as using a FTP Client: Use it as an alternative.
- Web-FTP
- https://webftp.logicalview.co.uk
- Username
- You set this in ISPconfig. eg
ws123456ftp - Password
- As set in ISPconfig.
Setting up a MySQL Database
Before you can create a database you must add a Database User.
Creating a database user
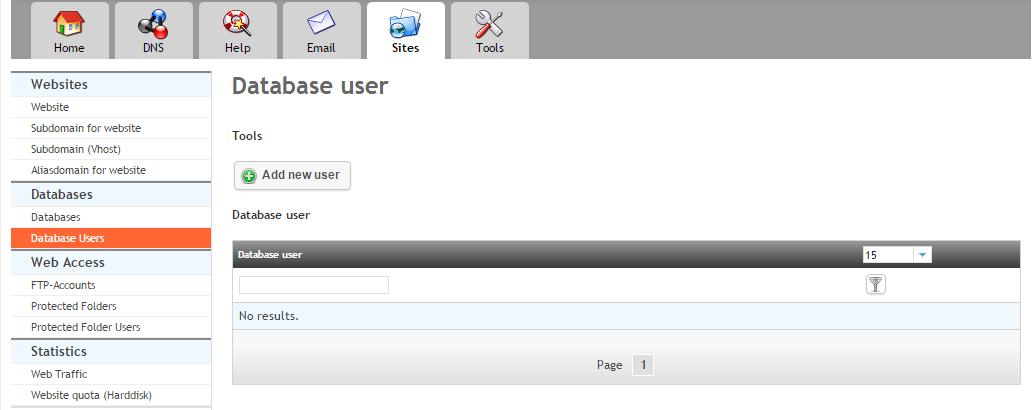
Go to the Sites tab, and select Database Users on the left hand navigation and Add new user.
- Database User
- This is the new username to access your database. This can be set to
databaseor similar SEE NOTE BELOW. - Database Password
- This is the new Password to access your database
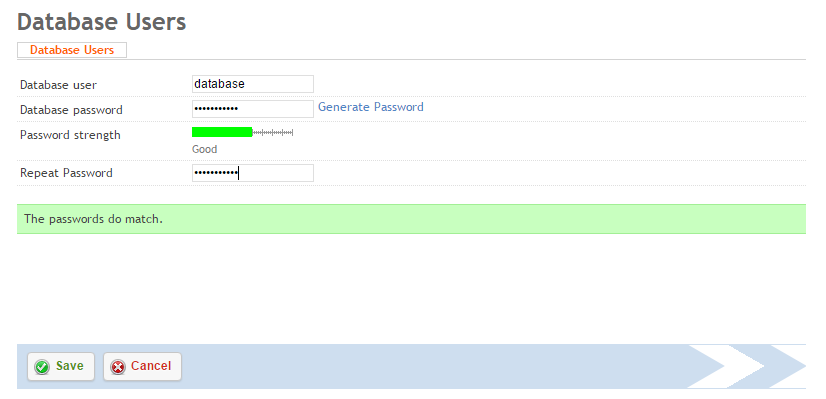
If you set your database username to
database your actual username will be ws123456database.Creating a MySQL Database
Once you have created a new user you can now add your database.

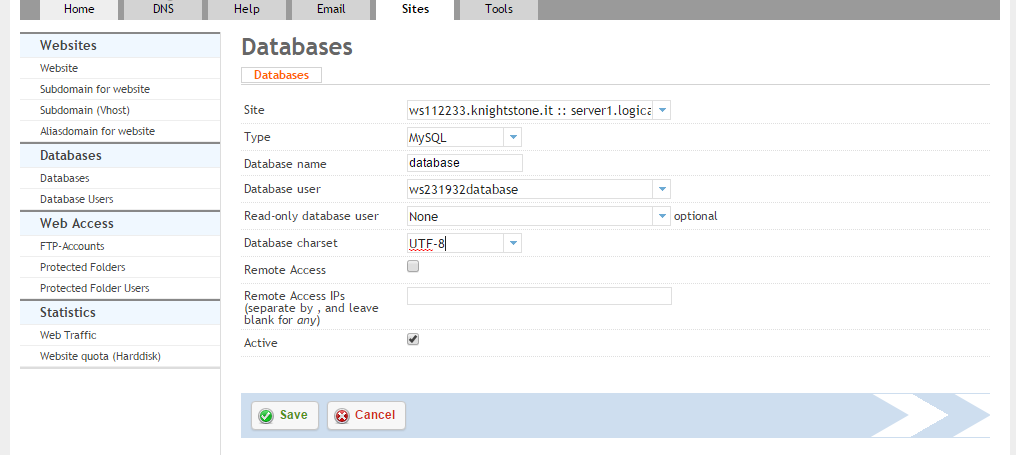
Go to the Sites tab, and find Databases on the left hand column. Select Add new Database.
- Site
- This is the site your database will work with, eg
ws123456.knightstone.it - Type
- This is the type of database you are setting up, eg
MySQL - Database Name
- This is the name of your new database, eg
database. SEE NOTE BELOW - Database User
- Select the database user you have just set up, eg
ws123456database. - Red-only User
- You do not need to add a read only user- this is normally used for backups.
- Database Charset
- Unless instructed otherwise you should use
UTF-8 - Remote Access
- If you are using this database with a website on this server do not tick this box. If you need external services (eg Minecraft Servers) to access your database please enable it.
- Active
- Enables this database.
Administering your Database with phpMyAdmin
phpMyAdmin is Online tool that allows you to administer your database.
- phpMyAdmin URL
- https://server1.logicalview.co.uk/phpmyadmin
- Username
- This is the DB user you created, prefixed with your ISPconfig username eg
ws123456database. - Password
- This is the password for the DB User you created.
DNS and using your own Domain *Custom domains only
You can use your own domain name with your hosting if you want. Domain names can be leased for a small yearly fee (Usually around £5 a year) from a domain registrar, eg 123-reg.co.uk.
Once you have registered your domain there are two ways you can link your new domain to your hosting account:
Using our DNS Recommended
Using the ISPconfig DNS service allows you to administer all of your account under one control panel. There is also a wizard that will set up your A (web) records and MX (email) records for you.
To achieve this you need to log into your domain registrars control panel and change your domains Name Servers.
- NameServer 1
- ns1.logicalview.co.uk
- NameServer 2
- ns2.logicalview.co.uk
Using your Registrars DNS
You can also chose to keep your registrars DNS service. If you want to do this you will need to edit your DNS records in your domain registrars control panel. Add/Edit the following records:
| Entry | Type | TTL | Priority | Data/IP |
|---|---|---|---|---|
| * | A | 3600 | 1 | 89.238.149.12 |
| www | A | 3600 | 1 | 89.238.149.12 |
| @ | A | 3600 | 1 | 89.238.149.12 |
If you want to host your own email you will need to add/edit the following records as well:
| Entry | Type | TTL | Priority | Data/IP |
|---|---|---|---|---|
| @ | MX | 3600 | 1 | mail.knightstone.it |
| mydomain.com. | TXT | 3600 | 1 | v=spf1 a mx ptr -all |
Hosting your own Email Custom domains only
If you have purchased your own domain name you can also host your own email using your student webhosting.
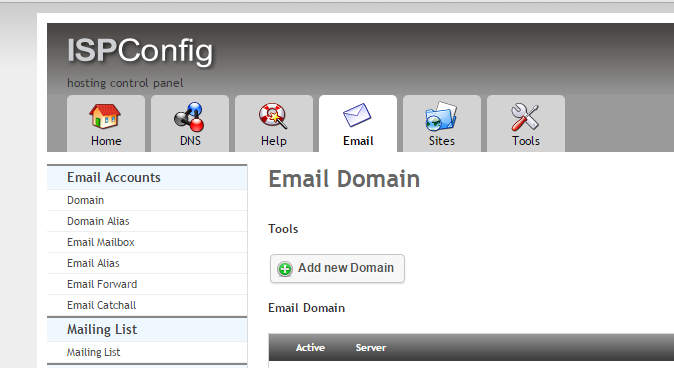
Adding a Email Domain
Before you can start setting up your email address you must add your domain. Login to the ISPconfig Control Panel and head to the Email tab at the top of the page and select Add new Domain and enter your domain eg mydomain.com.
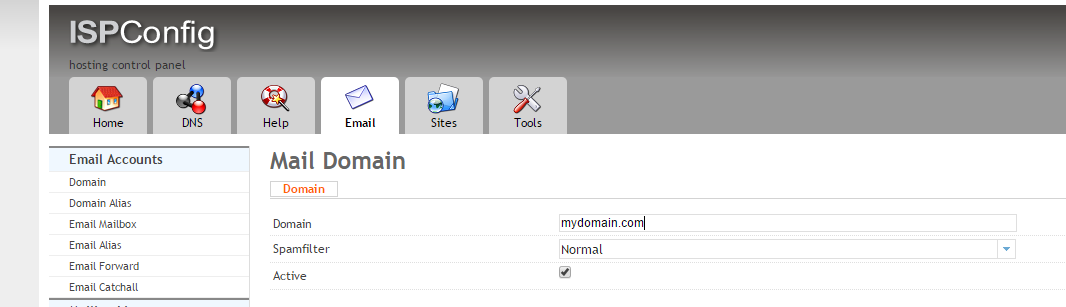
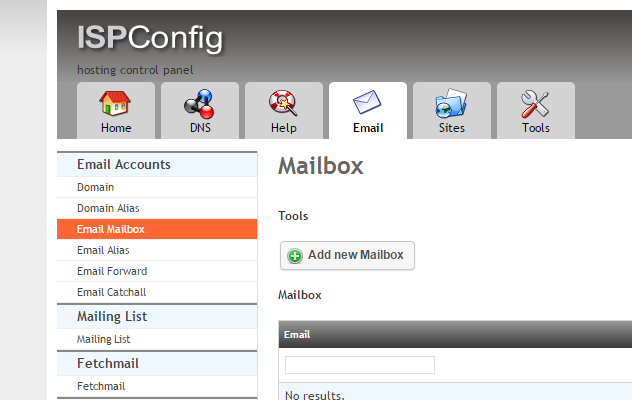
Once your new domain has been added you can now create a new mailbox for your account
Select Email Mailbox from the left sidebar, and go to Add new Mailbox.
Accessing your email
Once you have created your mailbox accessing your email is easy:
- Webmail Address
- https://webmail.logicalview.co.uk
- Username
- Your
fullemail address. - Password
- Your mailbox password. This can be rest from ISPconfig if lost.
Using another email client
Your email will also support all common email clients and mobile devices. You will need the following details when adding your account:
Server Addresses:
| Type | Protocol | Server | Uncrypted | Encrpted |
|---|---|---|---|---|
| Incoming Mail Server | IMAP | imap.logicalview.co.uk | Port: 110 | (SSL) Port 995 |
| Outgoing Mail Server | SMTP | smtp.logicalview.co.uk | Port: 143 | (SSL) 993 |