
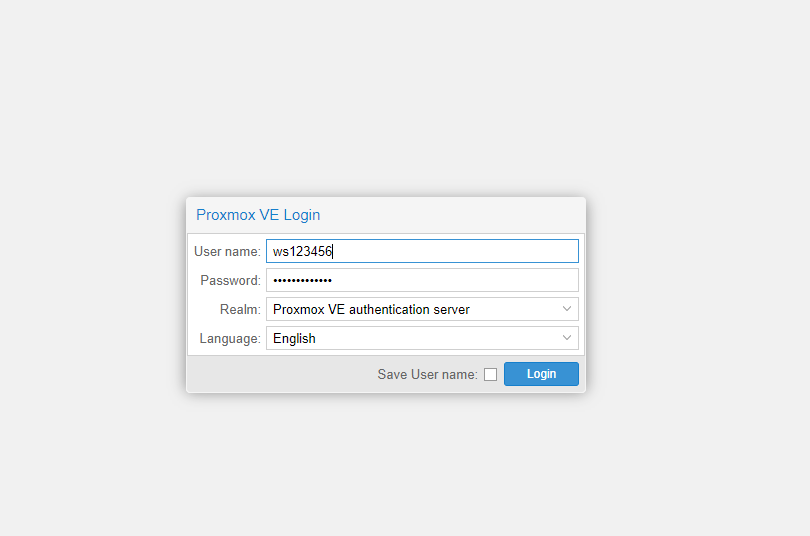
URL: https://proxmox.remote.ac:8006
Username: ws123456
Password: normal password
Realm: Proxmox VE Authentication Server
Once logged in you should be able to view the status and basic settings for your server. You can access your server directly from the console tab:
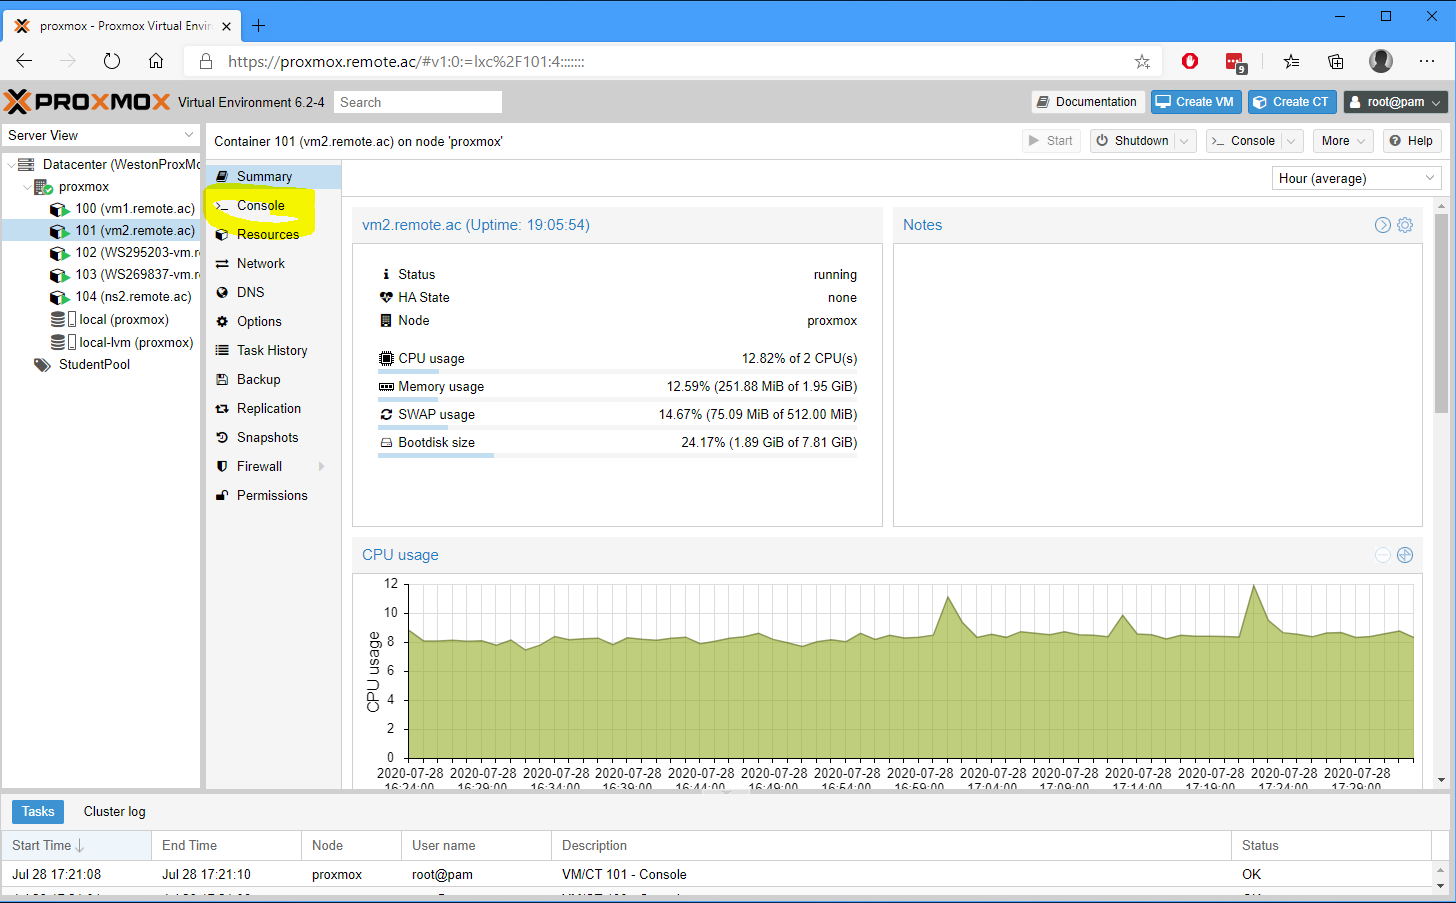
From here you can administer your server and control power (shutdown, force restart etc)
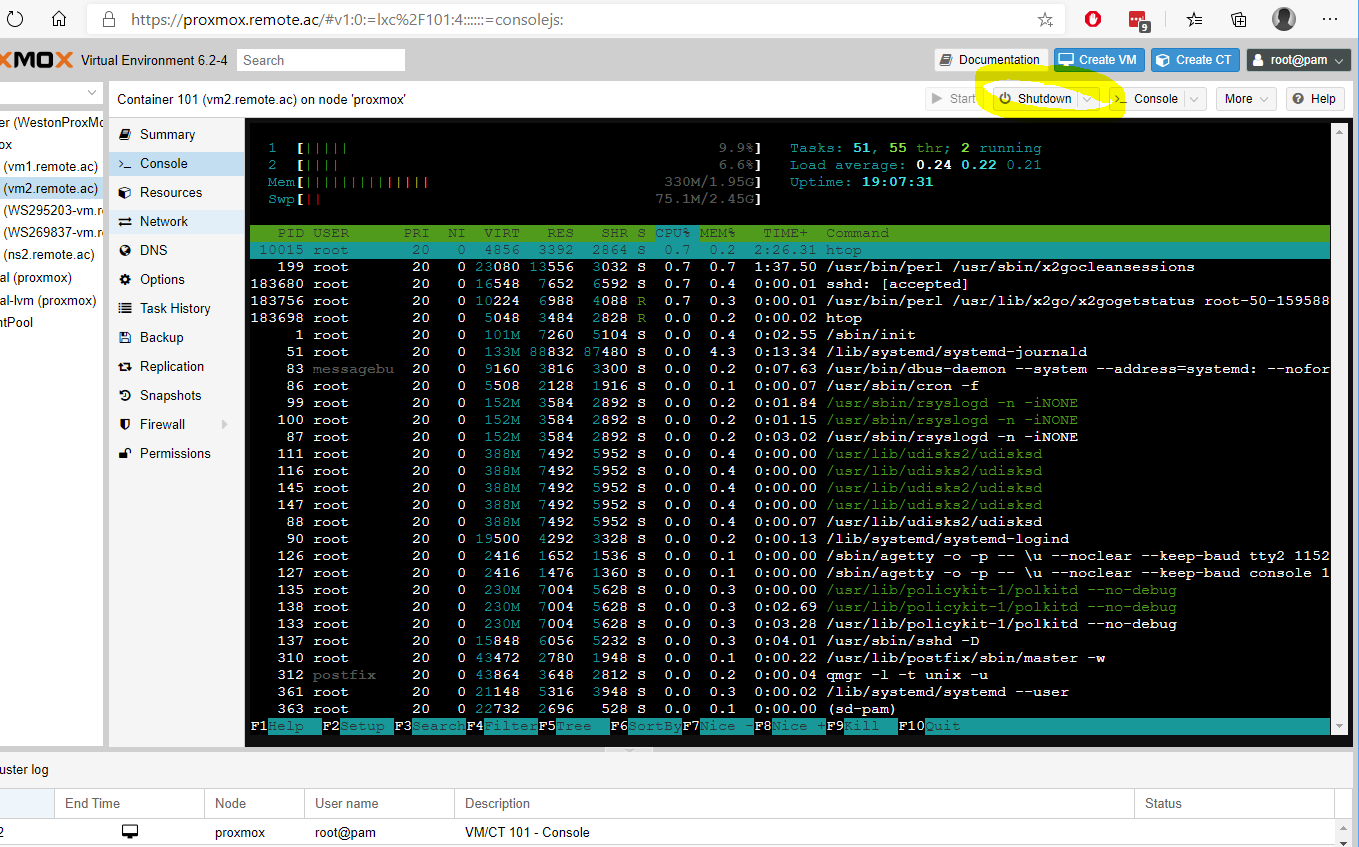
SSH is installed and enabled by default on most versions of linux we use, however to enable you to login remotely using your root account we need to use the nano text editor to change some settings in the ssh server:
nano /etc/ssh/sshd_config
Find the line that states #PermitRootLogin. Uncomment the line, and change the value to yes so that it matches the example below:
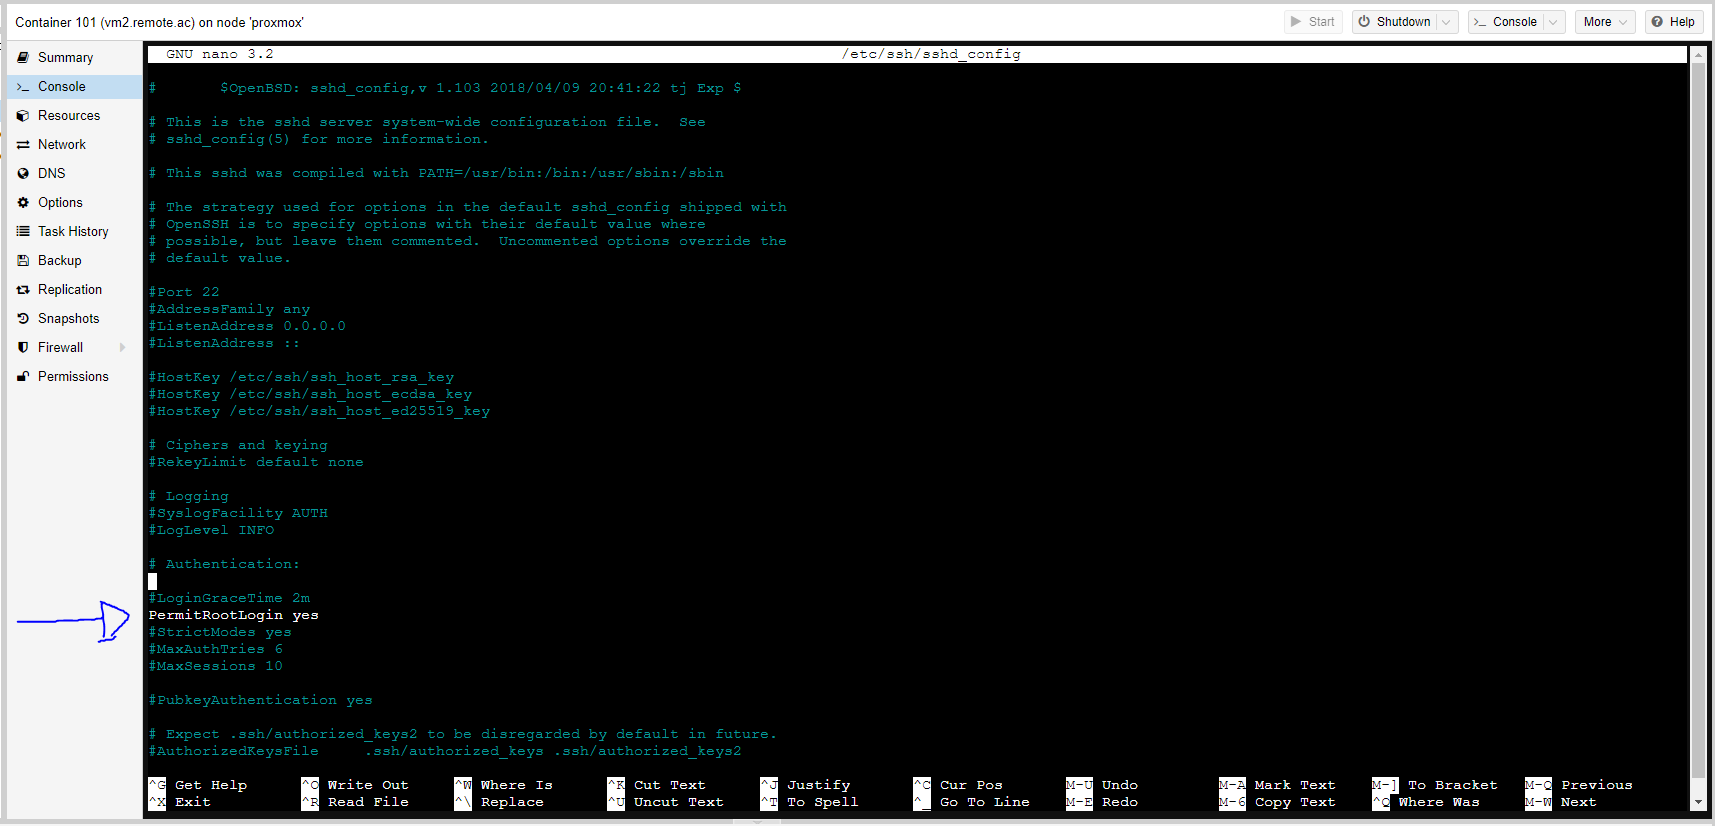
To save the changes use Control+O and Enter to confirm the file name. You can then close nano using Control+X. You will need to reboot your server to apply the new changes:
shutdown -r now
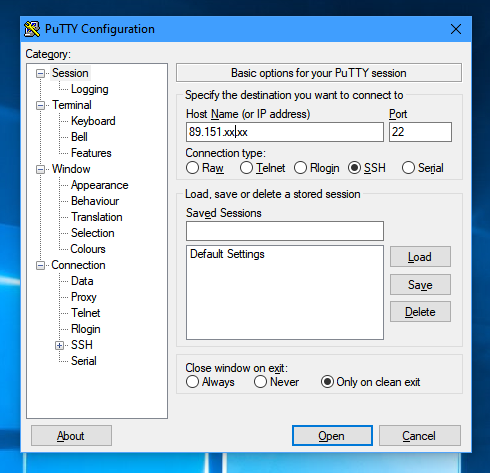
You can now connect to your server remotely using a SSH client, eg Putty.
Using a GUI on a server is discouraged as it uses a lot of CPU/RAM and can impact security.
apt-get update
apt-get upgrade
There are lots of GUIs including Gnome (popular on desktops) and KDE, however we recommend using Xfce as it is very lightweight and will run well on a VPS.
To install Xfce on Debian:
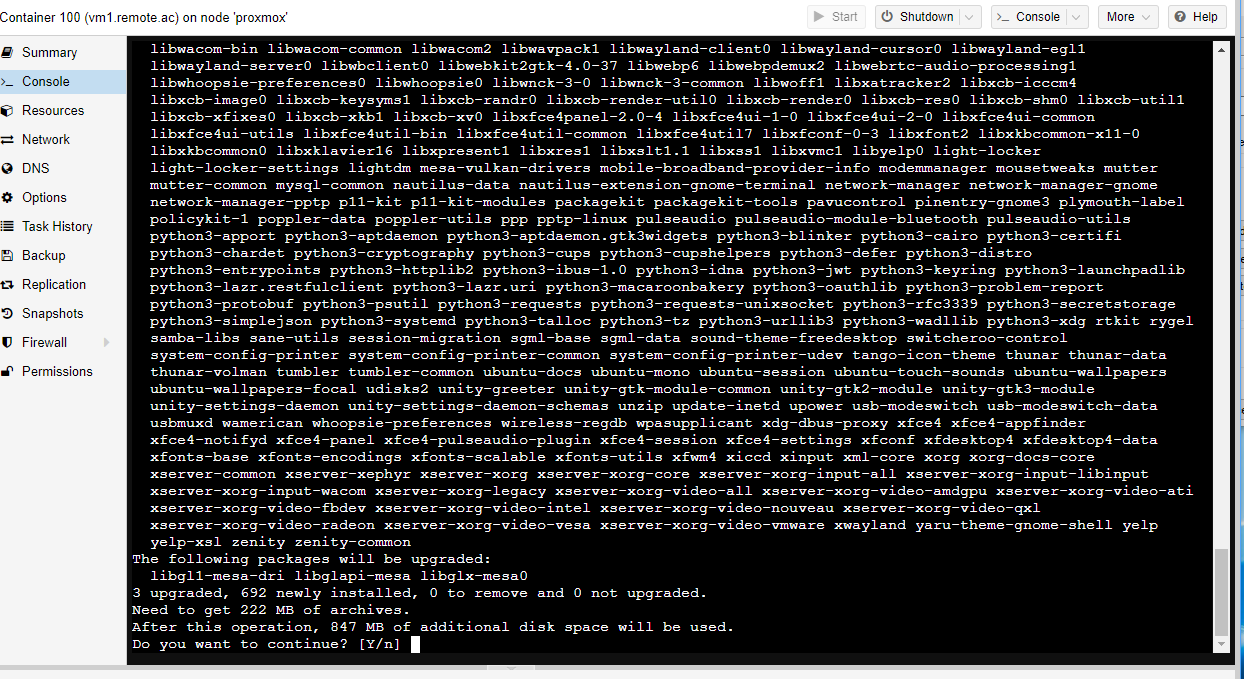
apt-get install xfce4
To install Xfce on Ubunto:
sudo apt install xfce4
Your package manager will automatically download all of the dependencies (Enter Y if prompted)
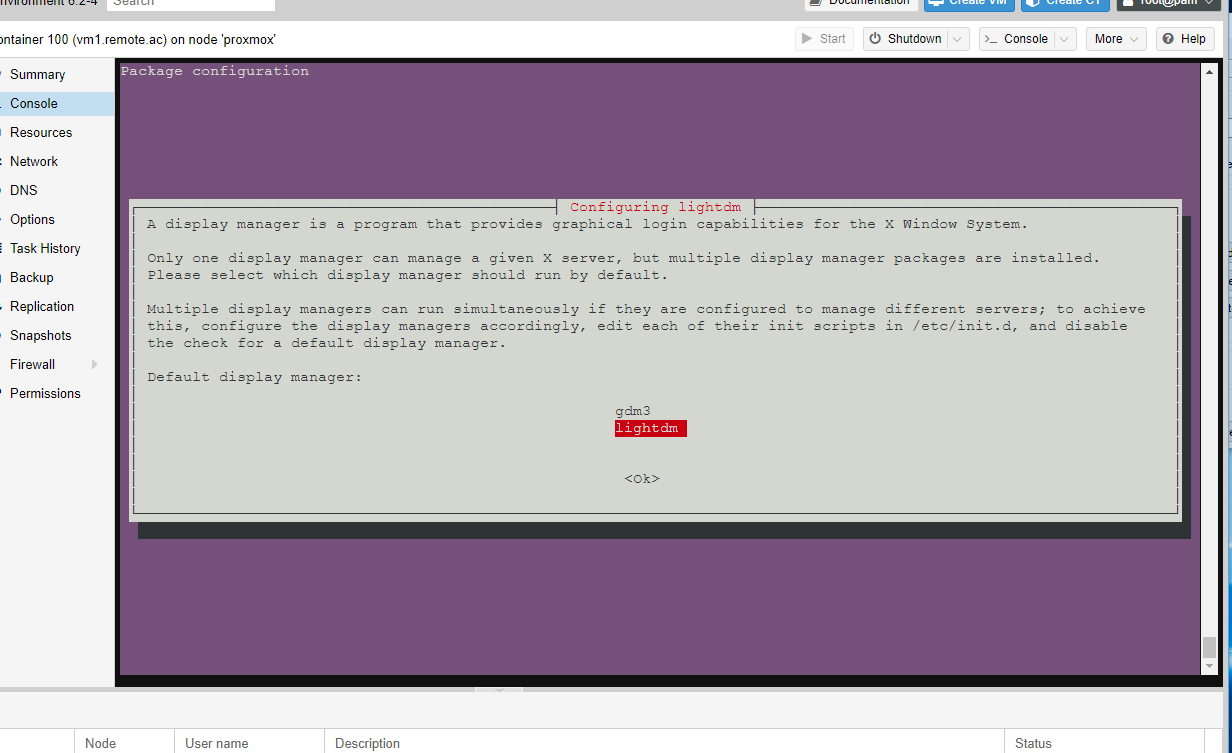
You may be asked which display manager you wish to use. Both work, but for a server lightdm is faster:
Finally, you may need to install some basic tools to get started:
apt-get install xfce4-terminal htop midori mousepad xfce4-taskmanager xfce4-screenshooter xfce4-appfinder ristretto
Once complete you will need to install a remote access protocol (eg X2GO see below) – you cannot run a GUI from the Proxmox web interface.
The Proxmox web interface will only allow terminal access. X2GO will allow you to connect to your server using a GUI.
Prerequisites: Install GUI of your choice (see above)
Login to your server using an SSH client (Putty) and root account.
If using Debian:
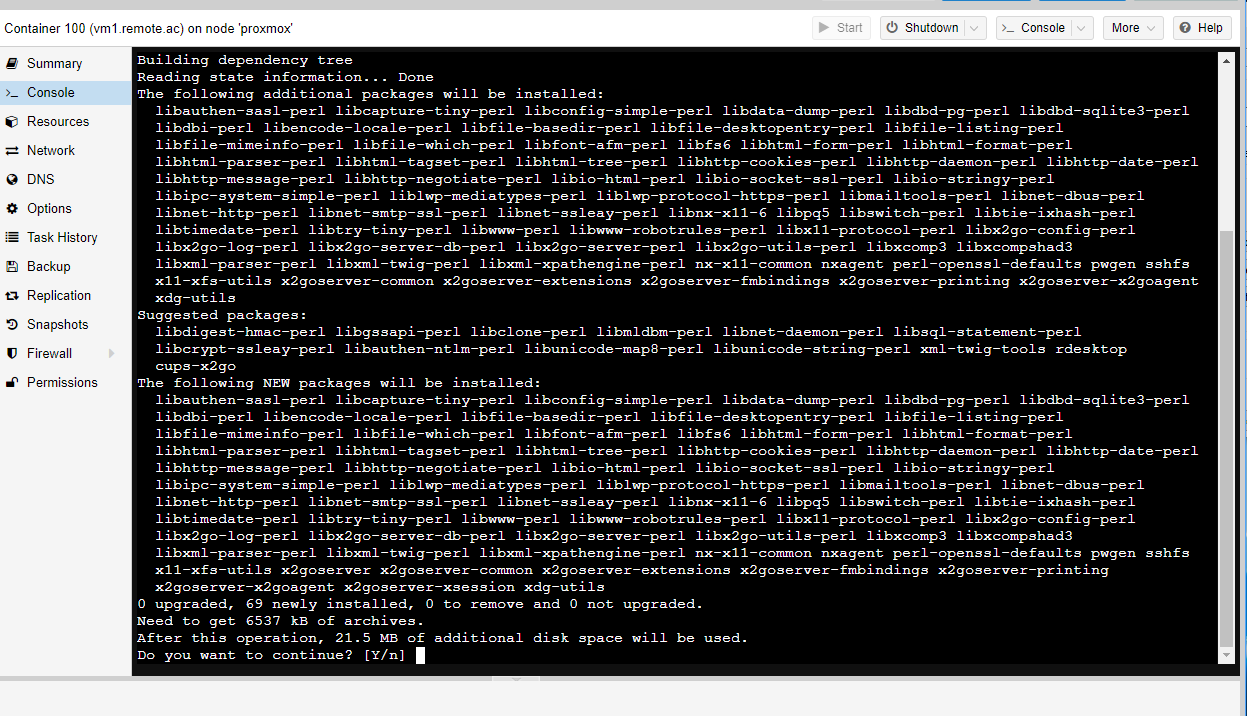
apt-get install x2goserver x2goserver-xsession
If using Ubunto
sudo apt-get install x2goserver x2goserver-xsession
Enter Y if prompted to install all package dependencies:
To access your server’s GUI, download and install the X2GO windows client here. (Clients for other operating systems are also available)
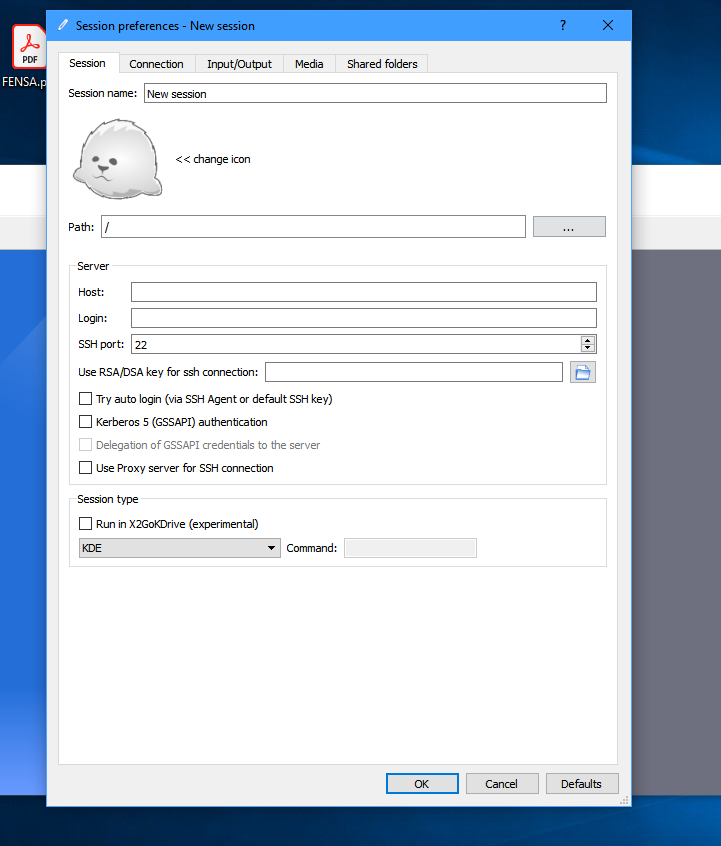
Open X2Go Client and enter the following details:
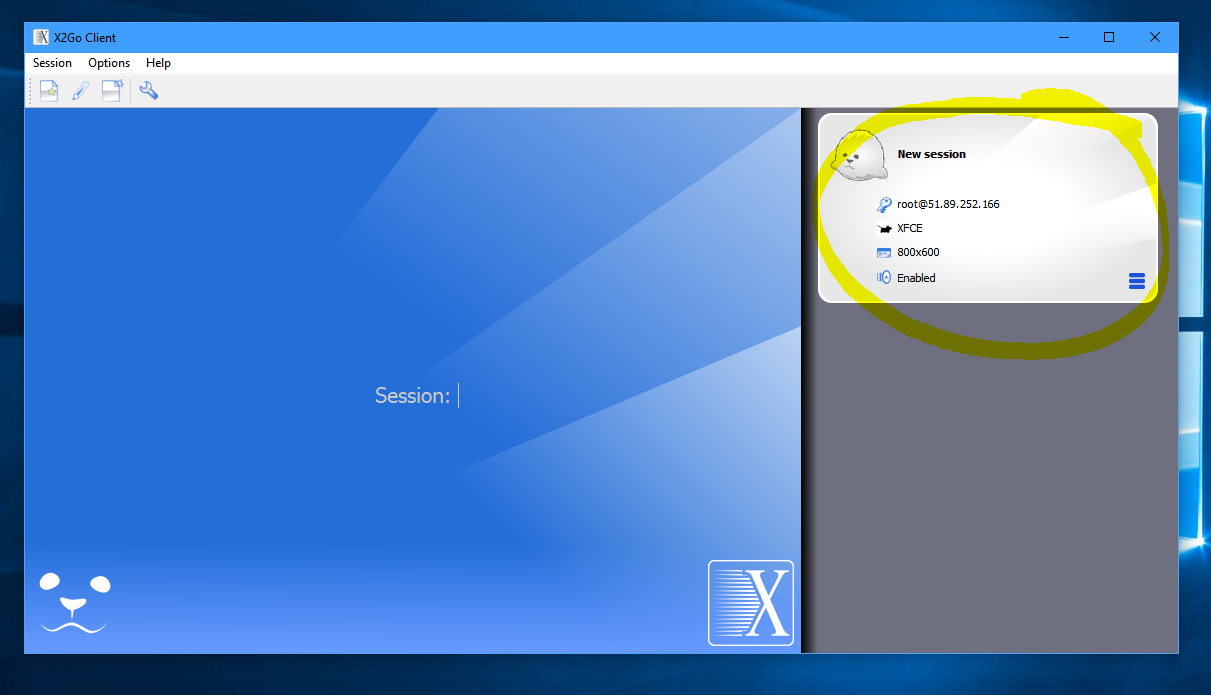
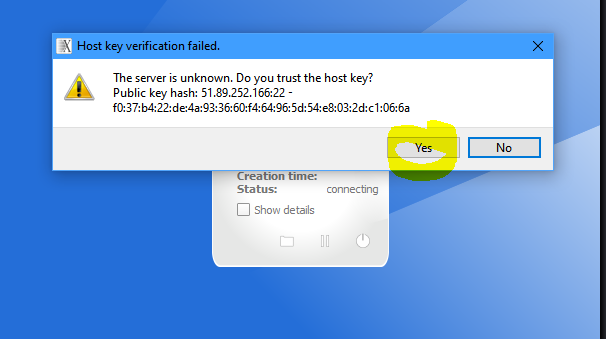
Once your session has been added you will need to double-click its name and accept the SSH Key when prompted:
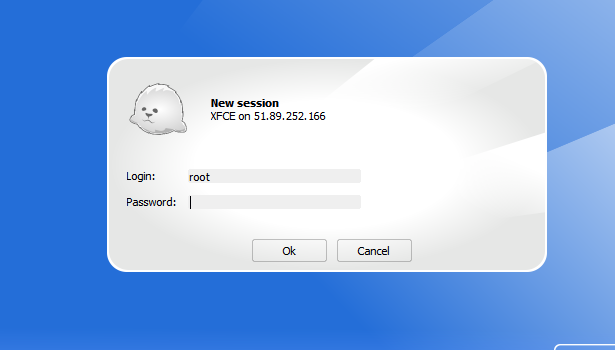
You will then be prompted to enter the password for the SSH account:
Once entered, your GUI should launch!
